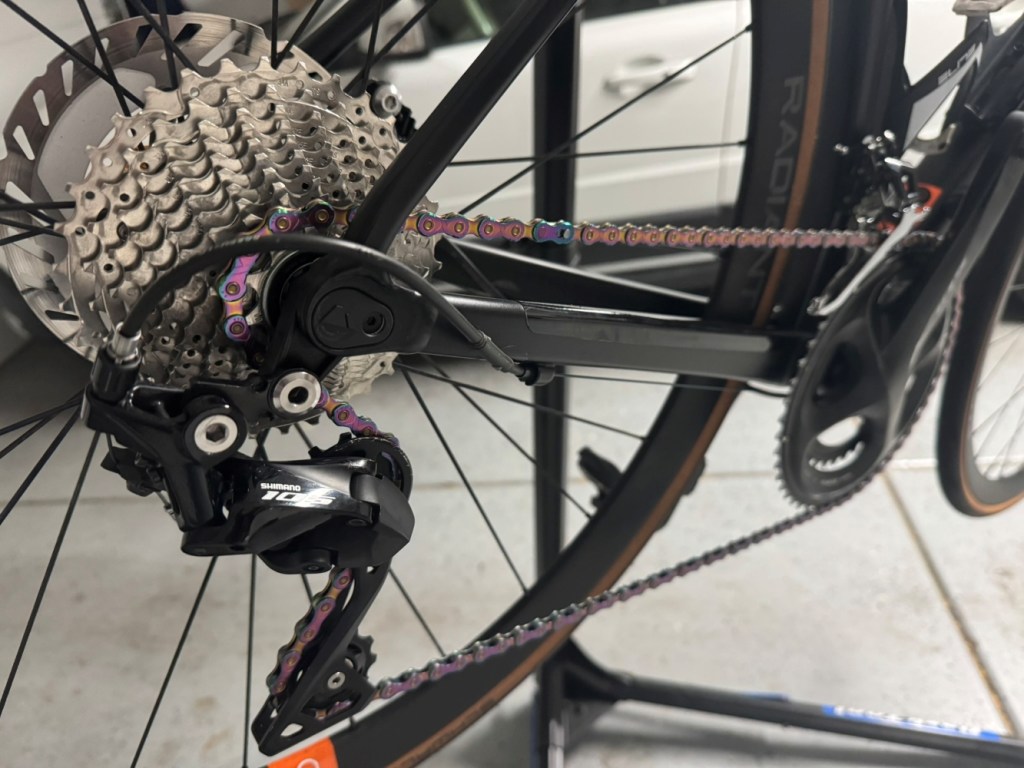
I’ve been finally testing the trendier bicycle maintenance options. Last weekend, I finally decided to convert my Canyon Endurance to a waxed drivetrain.
The Canyon was already due for a new chain. As I was looking through replacements for the 11 speed Shimano 105 drivetrain, I saw a pre-waxed option manufactured by KMC. This instantly intrigued me.
How Expensive Is It To Convert A Bicycle To A Waxed Chain?
After all, one of my biggest hesitations was the buy-in cost for chain waxing equipment. It’s about $200-$300 to buy a proper chain waxing device along with the preparation materials, wax, additives, and any other supplies. That’s a significant expense for bicycle maintenance products. You can accomplish this cheaper using an old crock-pot, but you’re going further down the bike mechanic rabbit hole.
By comparison, the pre-waxed KMC chain is $77 from Bike Tires Direct (not affiliated, but a favorite retailer of mine). I also bought a bottle of Squirt wax-based chain lube for $15. This option isn’t the traditional method of wax immersion, but it is less daunting for someone new to chain waxing.
How Do You Prepare a Bicycle for Wax-Based Lubrication?
Proper preparation is the most important part of converting a bicycle drivetrain to wax. You can’t just remove a gunky, old chain and throw on a new waxed one. It will immediately contaminate the wax and most of the advantage will be lost. It needs a clean slate.
It would be tough to achieve this level of cleanliness with elbow grease. Specialized cleaning equipment makes it easier. Fortunately, my best friend has a 10L ultrasonic cleaner that he uses for other garage projects. So, we decided to have a garage day and socialize while we worked on the road bike.
Starting early at about 6:30am, I first washed the bike to remove dirt and debris that was easy to wash off. Then, I put it onto my repair stand. The chain was removed and placed into a bag. It’s easier to match the number of chain links than to to measure a new chain, so it wasn’t discarded yet.
Next, I removed the cassette (gear) from the rear wheel, along with the derailleur’s jockey wheels.
These went into the ultrasonic cleaner with diluted Extreme Simple Green Aircraft and Precision Cleaner. I mention the specific product because traditional Simple Green shouldn’t be used on some materials, like aluminum. The manufacturer states on their website that all-purpose Simple Green can accelerate the corrosion process on aluminum. This is particularly important if you’re trying to use an existing chain.
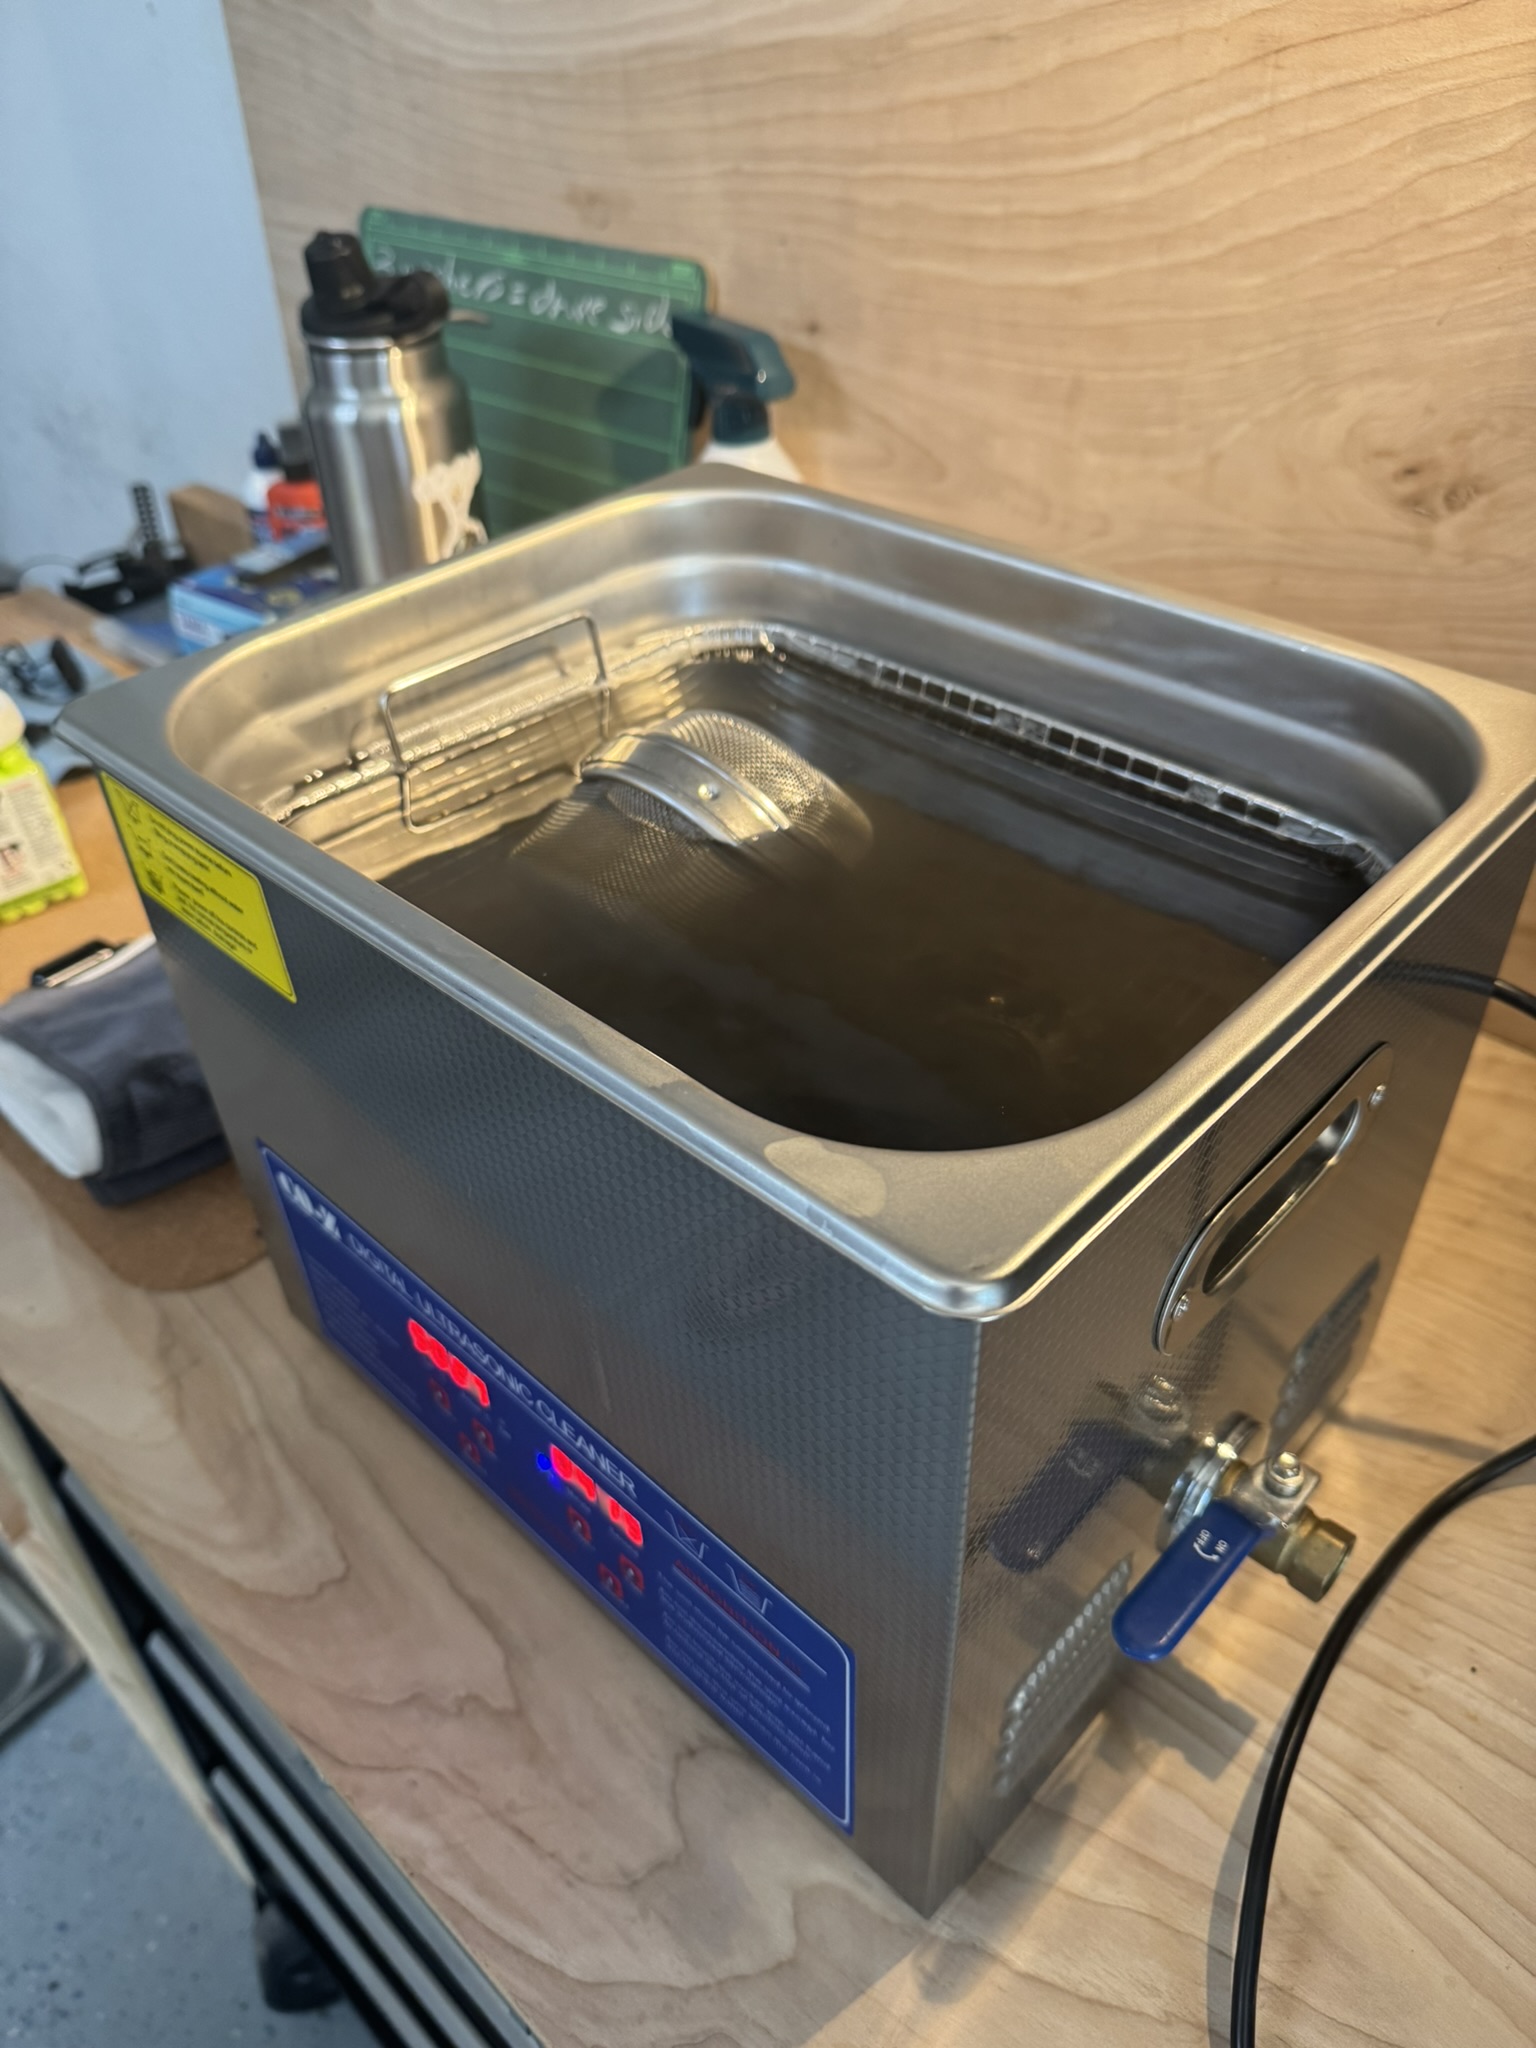
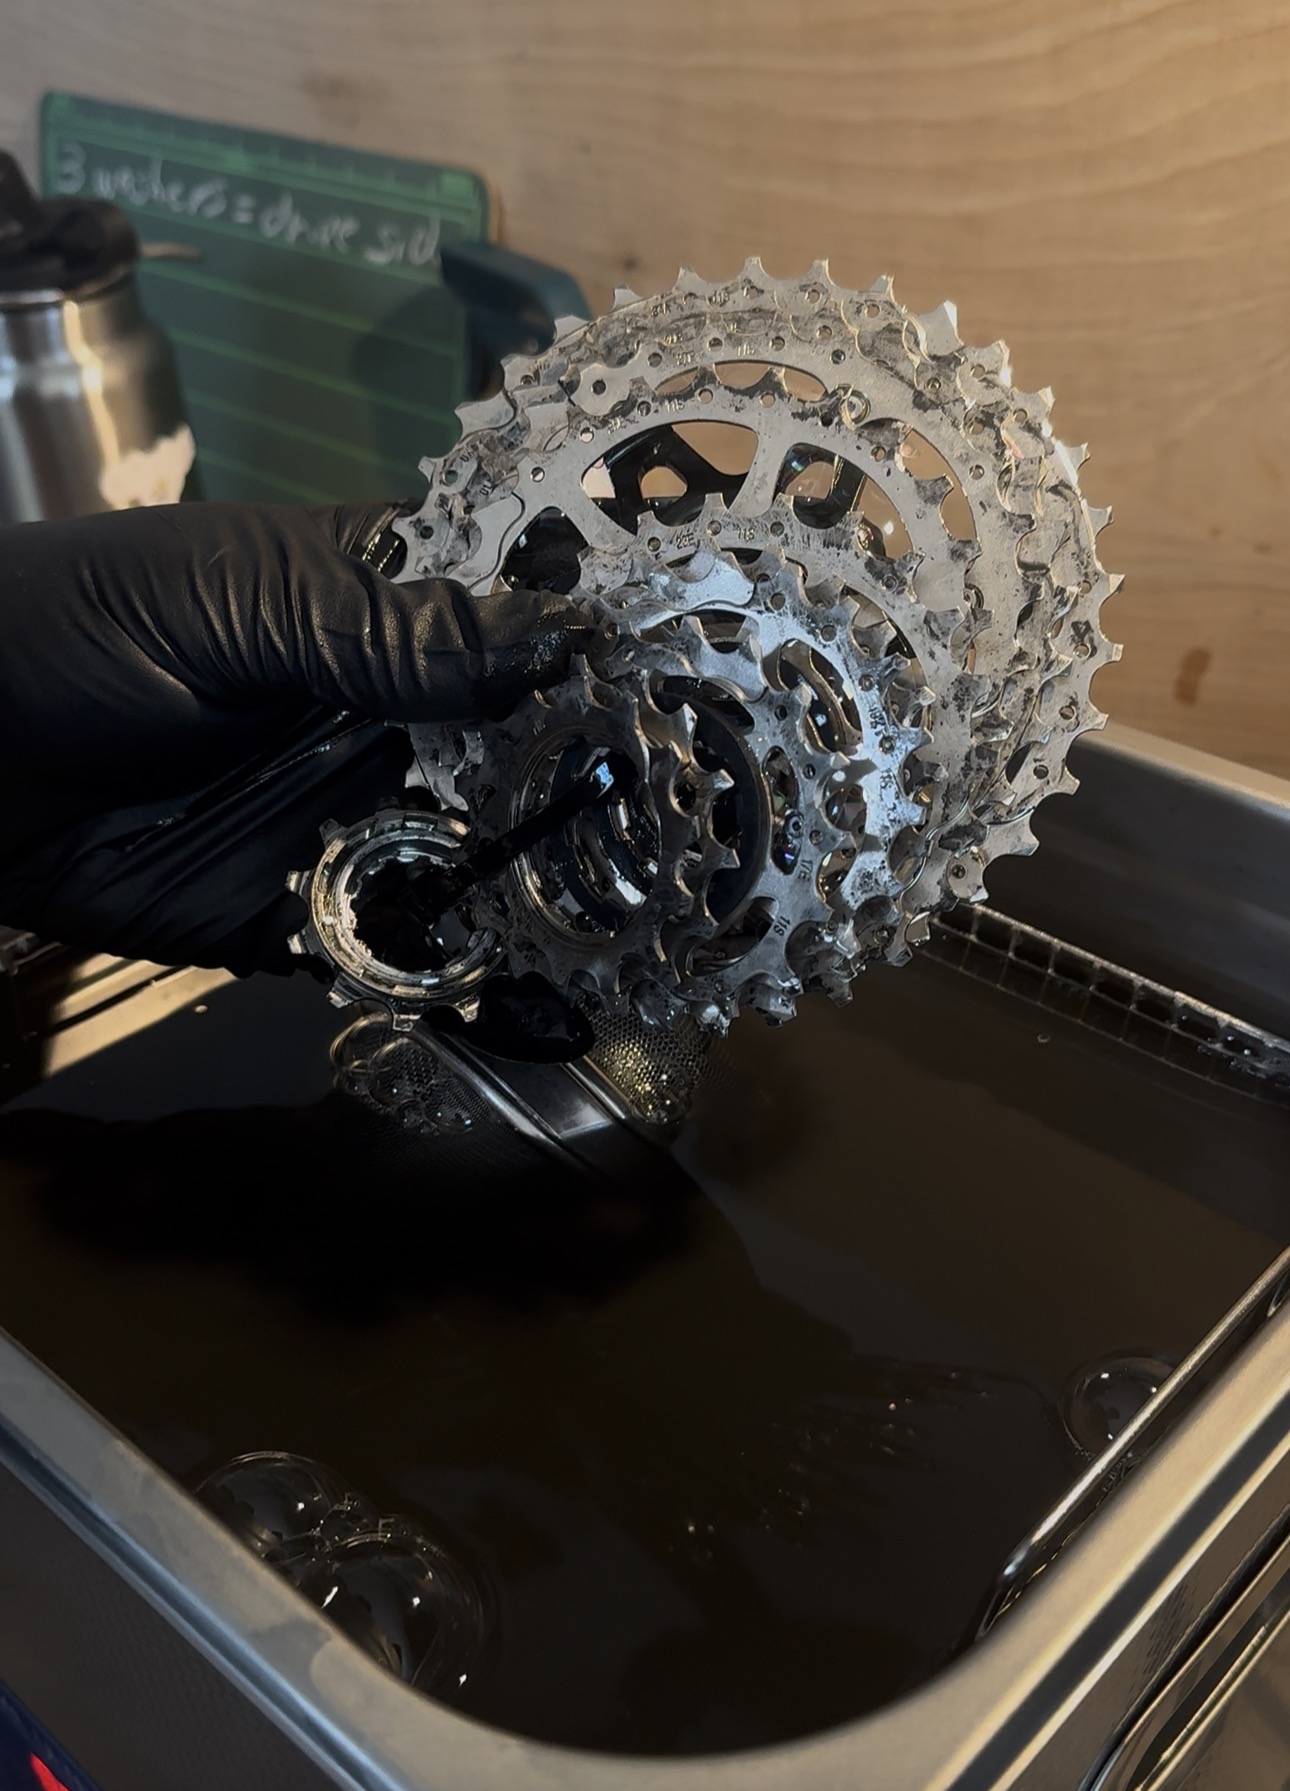
My friend put these items through multiple cycles of cleaner to remove the accumulation of oily gunk. Then, he rinsed and dried the parts.
The crankset was the next piece to be cleaned. The 10L ultrasonic machine accommodated the size of the part, but it had to be done in halves. The full component couldn’t be submerged. The lid also couldn’t be closed, but we ran it without the lid, anyways.
Our cycles of the ultrasonic cleaner were only 5 minutes each and the heating function wasn’t used.
Once all of the parts were cleaned and dried, I reinstalled them onto the bike. Proper torque is critical, so a torque wrench is mandatory.
Finally, the new waxed chain was cut to match the number of links on the old one. We put the old chain through the cleaner, too. It was nice working with an old chain that wasn’t leaving grease all over anything it touches.
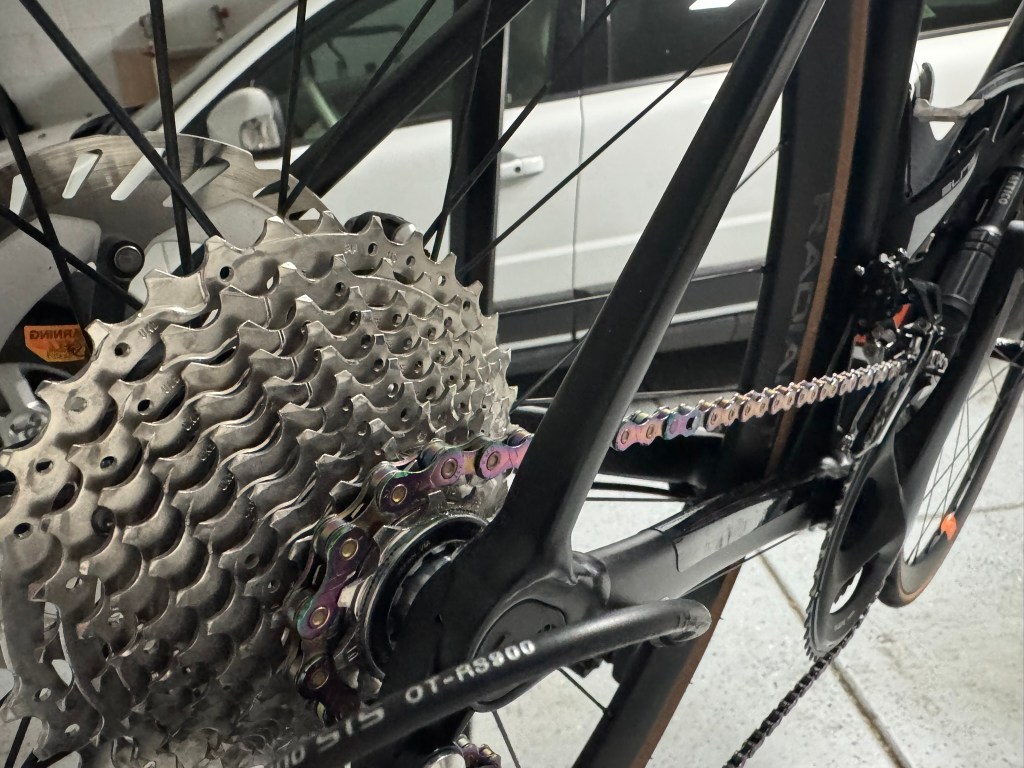
My First Thoughts After Using A Waxed Chain. Was It Worth The Effort?
My first impressions of wax are positive. It’s so nice that the chain doesn’t immediately leave a black mark on anything it touches. Also, while I have no scientific testing method, my rides have been faster on Strava compared to past rides on the same route. It could be coincidental, but, either way, it feels faster.
I can’t tell yet whether ongoing maintenance will be a pain, so that is something I’ll be testing.
This post was created entirely by a human. No AI was used for writing or editing.


Leave a comment