I’ve been hearing the benefits of tubeless tires for years. Article after article has preached the gospel of sealant. Less rotational mass, no tubes to replace, greater tire pressure range, and, most importantly, an ability for the sealant to repair punctures up to a certain size.
The cycling industry is notorious for pushing new technology to drive sales, so I was skeptical. Nothing in this world is perfect. That includes tubeless tires.
The sealant inside the tires needs to be topped up occasionally with a total replacement at scheduled intervals. If you get a large enough puncture, the sealant can end up sprayed all over the back of the bicycle. Not to mention, installation can be intimidating for those are unfamiliar with the technology (like myself).
Why Convert To Tubeless Tires?
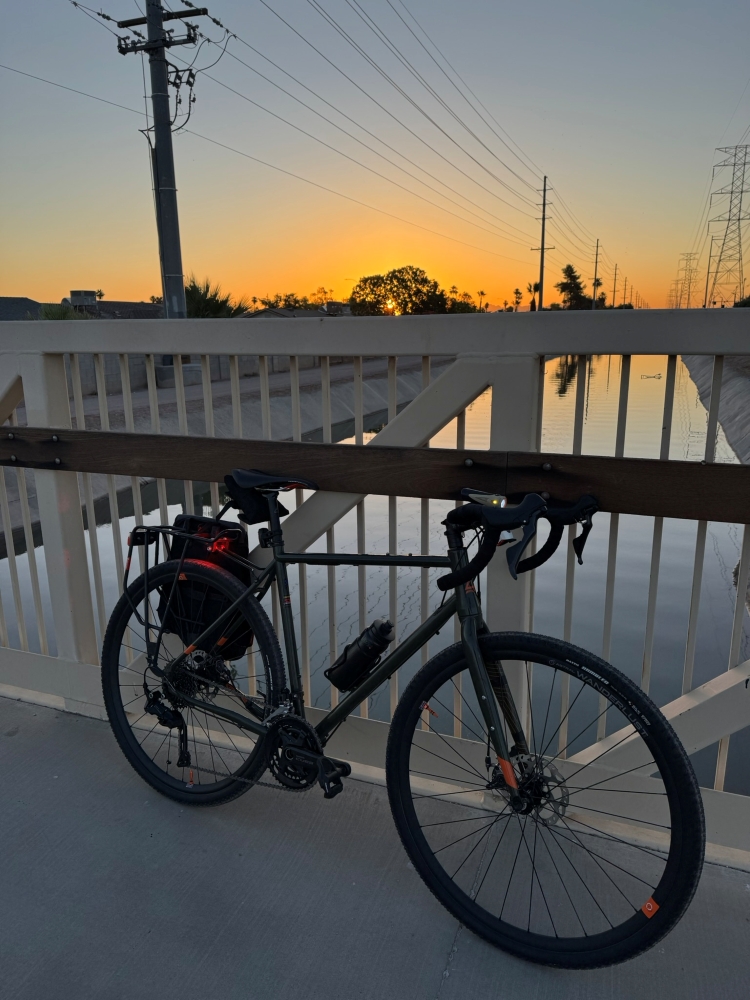
However, with my decision to go bigger on tires for my Fuji Jari, I ended up ordering new Astral Wanderlust wheels. The wheels were tubeless-ready and I knew I was building this bike to explore unpaved roads in the Sonoran Desert.
It only made sense to go tubeless for this application.
Opting For Maxxis Tires & Peaty’s Sealant
I researched my options endlessly before eventually deciding on Maxxis Rambler tires in a 700x40C size. Slightly larger tires could have fit on the Jari, but I wasn’t sure how the fitment would be with the wider Wanderlust wheels.
For sealant, I opted for Peaty’s Biofibre Sealant, as well as Peaty’s Holeshot Fast Flow tubeless valves. Multiple reviewers online noted this sealant worked well. The sealant’s formulation was fascinating. According to the company, the latex sealant uses hardwood fibers to create platelets which seal punctures.
Setting Up Tubeless Tires for the First Time: My DIY Experience
Horror stories are plentiful online about installing tubeless tires. It doesn’t take long to find tales of sealant-covered garages, tires which fail to seat correctly, or sealant leaking through the sidewall of a freshly-installed tire.
My experience was, thankfully, uneventful. Before injecting any sealant, I pumped up the tires once to the maximum recommended pressure with my track pump. The expected-but-still-sometimes-scary ping sound could be heard as each tire’s bead set against each wheel.
Next, I deflated the tires, grabbed a sealant syringe, and filled each tire with about 80 ml of sealant through the syringe.
Unbeknownst to me when they were ordered, the Peaty’s Fast Flow valves have a major benefit. The valve cores don’t need to be removed for sealant to be added. Many other valves don’t have this feature. This made installation super-easy.
As the sealant made its’ way into each tire, the bluish-colored fibers suspended inside the white liquid demonstrated their ability to seal holes. It almost worked too well! Clots could be seen forming inside the syringe’s clear hose. This started to prevent more sealant from entering. I simply created an occasional suction with the syringe to overcome that issue.
Last, with the tires filled with sealant, I inflated the tires back to their recommended pressure and spun them to disperse the sealant.
Initial Impressions of a Tubeless Gravel Bike Setup
Manufacturers say you might find tubeless tires flat after the first night as the sealant works to fill any leaks, but I didn’t experience this at all.
The tires have been holding air well and, I’ll admit, the ride quality is vastly improved.
After years of resisting this technological improvement, I think I’m converted. I’ll be setting up my road bike for tubeless sealant next once the tires need replacement.
The only remaining wildcard is: how well will the sealant hold up to Phoenix summer garage temperatures? Only time will tell, but, since we’re entering summer, I’ll find out soon.
This article is entirely human-created. No AI was used for the drafting or editing of this post.

Leave a comment