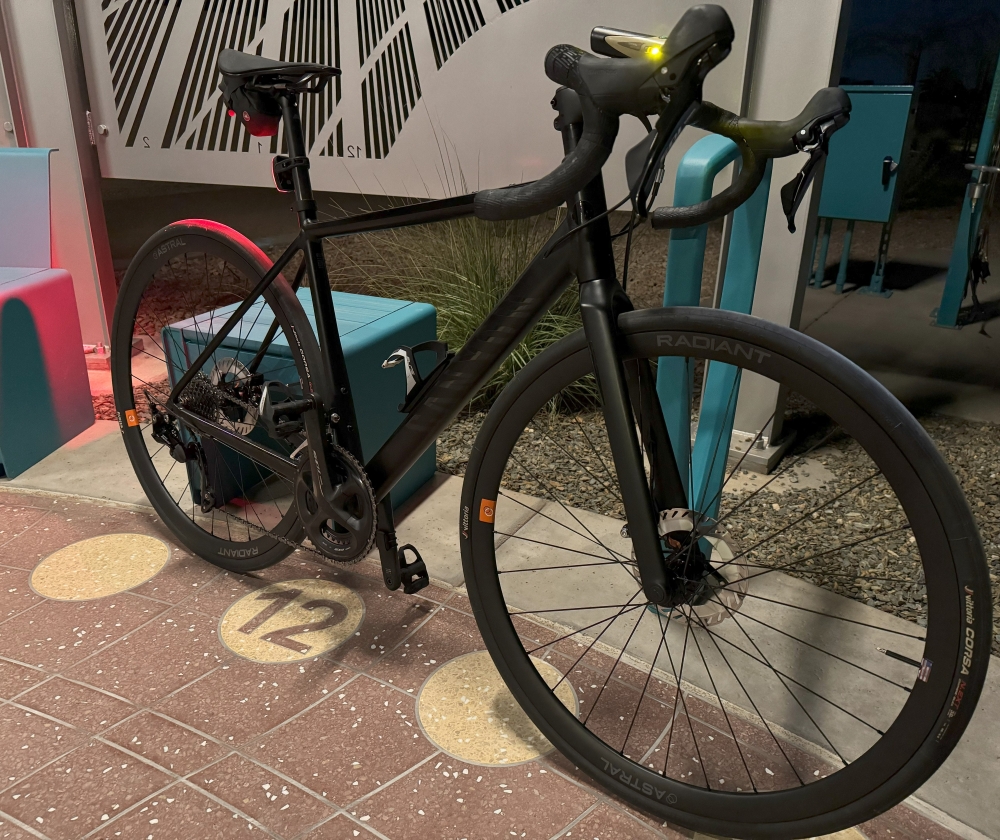
Following the failure of the factory-installed wheel set, my Canyon Endurace was fitted with a new set of Astral Radiant CLD wheels, as well as new brake disc rotors.
I adore the wheels, but I quickly met an issue with my brakes. The front brake would rub the brake rotor as I rode. Not only was this creating drag, but it also became embarrassing. The sound would gradually get louder until I grabbed the lever hard enough for it to temporarily reset. Then, minutes later, it would intermittently begin again.
My diagnosis of the issue was that the brake pistons inside the brake caliper were not correctly positioned for the new rotors. I also knew that a brake fluid bleed was badly needed.
One weekend, I decided to tackle the project using a high-quality brake bleed kit and mineral brake fluid. That’s when the fun began.
How did a simple brake bleed become a full brake caliper replacement?
The task began well enough; however, I made multiple small errors that contributed to an overall brake system failure.
1.) Bleed block: My kit includes multiple bleed blocks varying in sizes from 10mm to 12mm. My assumption was that I should use the largest bleed block that would fit. That was the 11-millimeter block.
After all, it wedged into the caliper and seemed secure.
Unfortunately, this would become my first error. As I learned later during the successful rebuild, I should have used the 10-millimeter block all along.
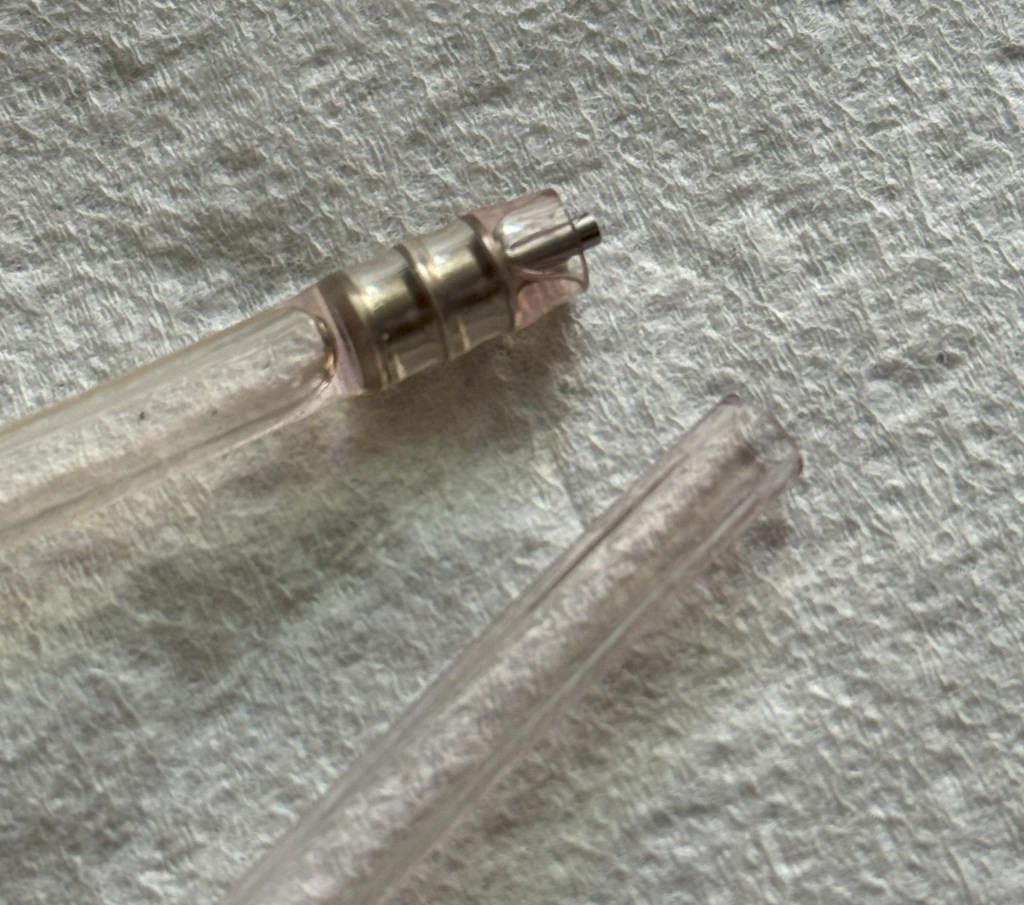
2.) Drain hoses: A major part of the process is allowing old or air-bubble-filled brake fluid to drain from the caliper. To do this, the kit includes various hoses which connect to a drain port on the caliper.
Initially, I used the simple hose. I assumed it would just snugly fit onto the port. That was a mistake. I kept having the drain hose pop off the caliper which made a horrible mess of my garage floor.
I later discovered that one of the hoses has a small needle-like insert which inserts into the Shimano 105 port. Once I discovered that, this task became much easier.
3.) Technique: My biggest mistake, which ultimately led to the overall failure of my brake caliper, was improper technique.
In the final stages of bleeding the caliper, I kept feeling air in the lines and a mushy brake lever. My thought process was that I needed to just keep pumping the brakes.
So, I kept pumping the brake lever with the fluid funnel on the caliper. Again and again.
It felt like it was building pressure, so I thought it was the correct call. That was until the brake lever quickly lost all pressure and brake fluid began rushing from the right side of the caliper onto the floor.
It turned out I had pressurized the system so much that it blew out one of the seals within the caliper. The incorrect bleed block size probably contributed as well.
My entire caliper had gone from simply needing a brake fluid flush to now being totally ruined.
A Lesson in Humility
Dejected, I loaded the Canyon into the Volvo and brought it to my local bike shop. I explained that the caliper was ruined and humbly explained my mistake. They took some notes from the service area, said they’d get to it when possible and then give me a call.
A week later, I called to see if they had diagnosed the issue, at least to order parts. They told me that they had not yet had a chance to look at the bike.
Although I like the shop, this reflects a bigger issue facing the bicycle industry. Bicycle mechanics are in short supply and bicycles themselves are becoming more complicated.
After all, old rim brakes were phenomenally simple to work on. The mechanical discs which followed also weren’t too bad. However, as I quickly learned, hydraulic brakes require more skill, more tools, and more caution. Unfortunately, hydraulic brakes are also the standard now, with these types of brakes being fitted on three of the four bicycles we own.
Getting the Courage to Try Again
I don’t want to have each of our bikes in the shop each time that one needs a brake fluid flush. It’s not sustainable from either a time or cost perspective.
So, after a week of self-reflection on my failure, I decided I needed to learn from my mistake. I headed back to the local bike shop, politely chatted with the mechanic, explained my failures and took my still-broken bicycle home.
Once home, I removed the entire front brake system, thoroughly cleaned everything with isopropyl alcohol and ordered parts.
I decided that the seals within the brake lever itself were probably still intact. However, I knew the brake caliper was dead, so I needed one of those. I also needed to order the “olives” which get compressed in the hose at the joints to contain the brake fluid.
Bar tape was also needed because I would have to be able to access everything comfortably. Besides, my bar tape was tired anyways.
I would later discover I needed to replace the brake hose. I could not safely remove the hose from within the fork’s internal routing without damaging the hose.
Victory is Mine! (The New Shimano 105 Caliper is Reinstalled)
After a few days, a box full of parts arrived from Cambria Bike.
Now armed with all the necessary parts, a healthy amount of introspection, and links to the official Shimano repair procedures, I got to work.
I took my time, followed the procedure to the letter and, if I was unsure of anything, verified before moving on.
The replacement was a success! The bike now stops quickly and quietly.
While this was a costly lesson, I now better understand how a hydraulic system works in bicycle brakes. I’m more confident in making these types of repairs myself in the future. This saves me money, builds my skills, and reduces my dependence on short-staffed experts.
Important: Brakes are a critical safety component. Always refer to experienced professionals and manufacturer procedures for assistance. Brakes should be inspected for proper operation before every use. Reader assumes all risk if they decide to pursue their own repairs.

Leave a comment